Wet Concrete Stone Polisher Guide: Cleaner Edges
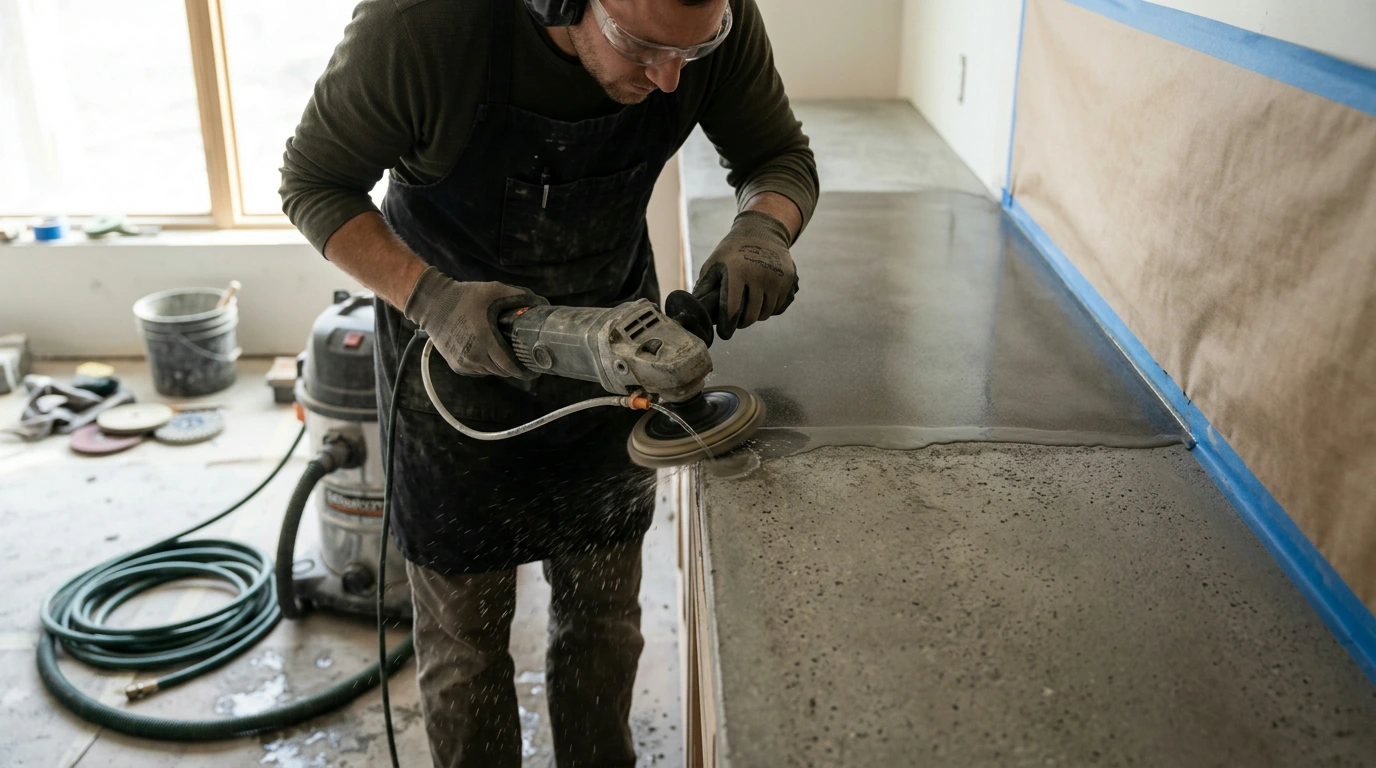
Wet Concrete & Stone Polisher: Clean Edges, Consistent Shine, Less Mess
Concrete and stone surfaces reward patience—but they also demand the right tool. A wet polisher helps keep heat and dust down while encouraging pads to cut evenly, so floors, counters, steps, and slab edges come out smoother with fewer swirl marks. Below, our team breaks down where a wet concrete stone polisher fits in a finishing workflow, what to set up before you start, and how to get a controlled, repeatable finish on common surfaces.
Where a wet polisher makes the biggest difference
If you’ve ever tried to “fix it at the edge” with hand sanding, you already know how easy it is to leave a visible transition. Wet polishing shines (literally) in detail zones where heat control and scratch consistency matter most:
- Edge polishing on concrete countertops, vanity tops, and hearths where hand sanding leaves transitions and halos.
- Small-to-mid surface refinement on cured concrete repairs, patch blends, and skim coats where a uniform scratch pattern is the goal.
- Stone finishing on granite, marble, and engineered stone when water control helps reduce heat and protect pads.
- Stair treads, thresholds, and tight areas where floor machines don’t fit or create more work than they save.
- Touch-ups after installation—restoring clarity and correcting slight lippage at seams (with the right pad sequence and restraint).
Finish quality starts with the right workflow (not just pressure)
A wet polisher can produce a very clean finish, but the real difference comes from a disciplined sequence. Your job is to create a consistent scratch pattern at one stage so the next stage can remove it efficiently.
- Work in stages: each grit should fully remove the previous grit’s scratches before you move on.
- Keep the tool moving: slow, overlapping passes reduce dips and avoid visible “hot spots.”
- Let the pad do the cutting: forcing the tool can stall rotation, wear pads unevenly, and leave chatter.
- Control water: enough to cool and lubricate, not so much that slurry “floats” the pad and reduces bite.
- Treat edges and corners as their own job: start controlled, then feather into the field to avoid halos.
Typical polishing progression (general guidance)
| Goal | What to do | What to watch for |
|---|---|---|
| Flatten / remove defects | Start at the lowest grit needed; make overlapping passes | Over-cutting edges; deep scratches that take longer to remove |
| Refine scratches | Move up one stage at a time; rinse between stages | Skipping grits creates stubborn haze that looks like “dull patches” |
| Bring up sheen | Use lighter pressure with higher grits; steady water control | Too much water reduces bite; too little overheats and can glaze pads |
| Final clarity | Clean thoroughly; finish with the final pad stage for the material | Slurry residue dries into streaks and masks the true finish |
Setup checklist for cleaner, safer wet polishing
Wet polishing is only “less mess” when you plan for water, slurry, and electricity before you pull the trigger.
- GFCI protection: wet tools and water lines belong on a GFCI circuit to reduce shock risk. OSHA’s overview is a solid reference: OSHA – Ground-Fault Circuit Interrupters (GFCIs).
- Water management: plan a hose path, a quick shutoff, and slurry collection (wet vac, towels, berms, or a containment tray).
- Surface prep: remove grit and debris first—one grain of sand can carve repeating scratches across your work.
- Masking and protection: tape finished faces, cabinets, walls, and adjacent flooring; slurry stains are easier to prevent than remove.
- Personal protection: eye protection and hearing protection matter, and gloves help with grip and abrasion. Also remember: concrete dust is a serious hazard—NIOSH’s silica resource is worth reviewing even if you mostly work wet: NIOSH – Silica (Crystalline) hazard overview.
Technique tips that keep edges crisp and surfaces even
Common finishing problems—and what usually fixes them
When our Wet Concrete & Stone Polisher is the right pick
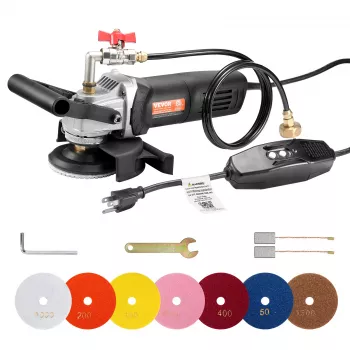
- Wet Concrete & Stone Polisher — a practical choice when you need repeatable, water-assisted cutting and cleaner edge work.
- Muscle Relaxation Toolkit for Total Tension Relief – 3-in-1 Bundle for Deep Muscle Relaxation — a helpful add-on if you do long polishing sessions and want a recovery routine for hands, forearms, and shoulders afterward.
Quick fit check
| If the job looks like this… | A wet polisher helps because… |
|---|---|
| Countertop edges and sink cutouts | Water keeps pads cutting cleanly and helps reduce heat at tight radii |
| Patch blending on concrete | Controlled passes refine the blend zone for a more uniform sheen |
| Stone thresholds and steps | Wet polishing lowers dust and supports steady refinement in small areas |
Care and storage that keep performance consistent
FAQ
Is wet polishing better than dry polishing for concrete and stone?
Wet polishing reduces dust and heat, often improves pad life, and can make it easier to maintain a consistent finish. Dry methods can work well with strong dust extraction, but wet polishing is a go-to when you can manage slurry and want cooler cutting at edges and tight details.
How much water should be used while polishing?
Use enough water to keep the pad lubricated and the surface cool without flooding the work area. Too much water can reduce cutting and spread slurry, while too little can overheat the surface and glaze the pad.
Why does the surface look hazy after polishing?
Haze commonly comes from skipping grit stages, contamination from a lower grit, slurry residue drying on the surface, or uneven pressure from tilting. Rinse and clean thoroughly, then step back one grit and rework until the scratch pattern is even before moving forward.














Leave a comment