Digital Painting for Beginners: Simple Tools, Brushes, Layers
Digital Painting Made Friendly for Beginners: A Calm, Repeatable Start That Builds Confidence
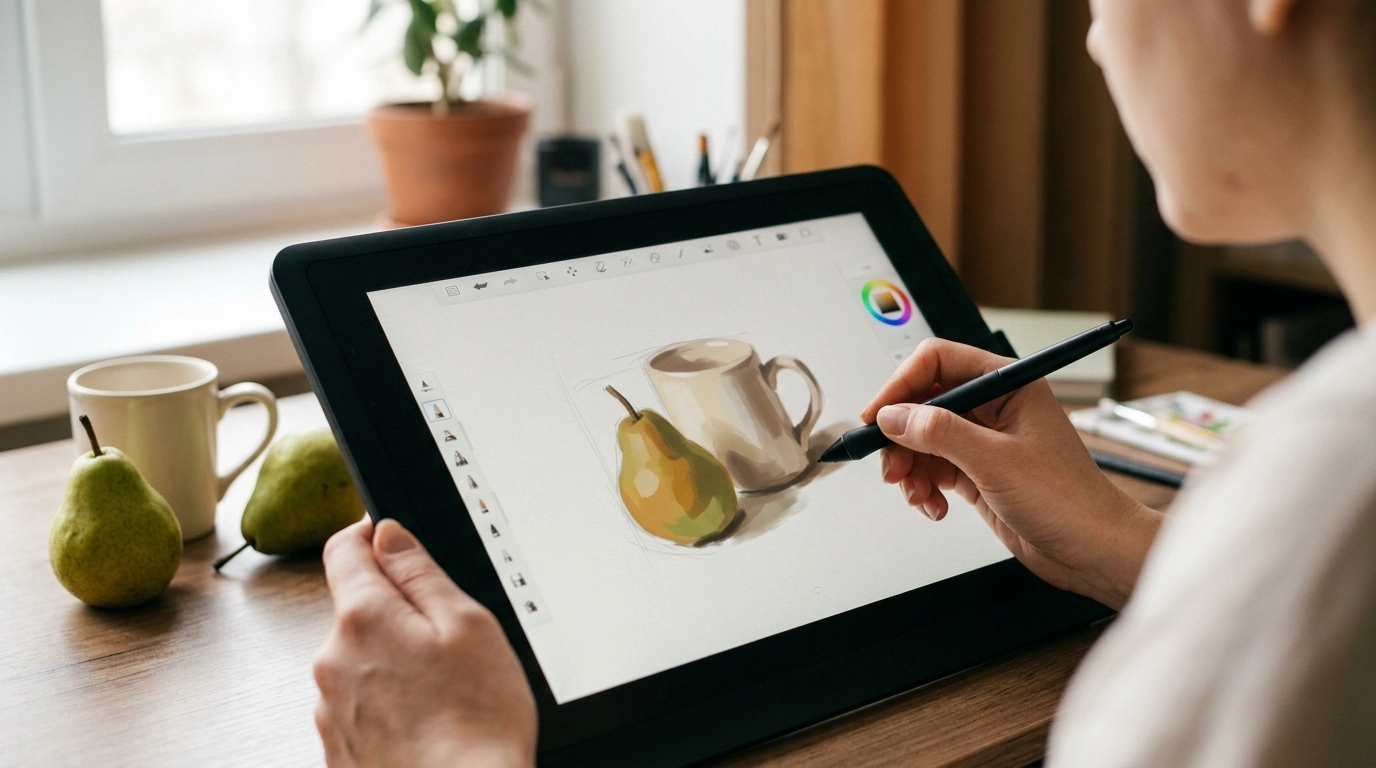
Digital painting gets a lot easier the moment the setup and workflow stop feeling mysterious. Our team put this beginner-friendly approach together for your first real wins: choosing simple tools, learning a few dependable brushes, understanding layers without overwhelm, and following a calm workflow you can repeat on any subject—character, landscape, or a simple still life. The goal is steady progress with fewer “where do I even start?” moments.
Start small: the beginner kit that actually matters
You don’t need a perfect setup—you need a consistent one. A basic drawing tablet (or iPad) plus any mainstream painting app is enough to begin. The fastest confidence boost usually comes from removing friction: fewer decisions, fewer panels, and a reliable “default” you can return to every day.
- Keep the interface quiet: pin only color, brush size/opacity, and layers. Less visual noise helps you focus on shapes and values.
- Reuse one canvas preset for a week: consistency removes decision fatigue and makes comparisons between sessions meaningful.
- Pick one color method for now: grayscale studies or a 3–5 color limited palette teach value control faster than jumping into every hue.
- Set an ergonomic baseline: neutral wrist position, tablet centered, and micro-breaks keep practice sustainable.
| What to decide | Beginner-friendly default | Why it helps |
|---|---|---|
| Canvas size | 3000 px (long edge) | Large enough for detail, light enough to stay responsive |
| Brush set | 1 sketch brush, 1 paint brush, 1 soft blend, 1 texture | Limits choice while covering common needs |
| Color approach | Grayscale or limited palette | Builds value control and confidence faster |
| Layer habit | Sketch layer + Paint layer + Adjustments | Keeps edits safe without layer overload |
| Timebox | 30–60 minutes | Short sessions reduce burnout and increase consistency |
Brushes made simple: 4 brushes to learn first
Brush packs are tempting, but early progress comes from control: how you place strokes, how you group values, and how you handle edges. Start with four brushes and learn them deeply.
- Sketch brush: pencil-like, lightly textured, pressure-sensitive opacity. Use it to plan shapes—not to chase perfect lines.
- Paint brush: an opaque round or flat brush with pressure-sensitive size. This is your main “workhorse” for block-ins and refinement.
- Soft blend brush: one soft airbrush or a blender at low strength. Use sparingly so forms don’t turn cloudy and flat.
- Texture brush: a subtle grain for surface variation (cloth, foliage, stone, backgrounds). Treat it like seasoning, not the meal.
If you want to explore how brush settings work in more depth, Krita’s documentation is a clear reference: Krita Manual: Brushes and Brush Settings.
Layers without overwhelm: a clean, safe structure
Layers are best when they’re purpose-driven. Each new layer should solve a problem—edit safety, clean separation, or a contained experiment—rather than becoming a stack you’re afraid to touch.
- Starter stack: Background (flat) → Sketch → Flats (base colors) → Shadows → Light → Details.
- Merge when stable: once a stage feels “locked in,” merging can reduce mental clutter.
- Use clipping masks: keep shadows and light clipped to your base shapes so you don’t fight your edges.
- Name layers fast: Sketch, Flats, Shadow, Light. It prevents the “Layer 27” spiral.
- Adjustments with restraint: Curves/Levels for value, Hue/Saturation for shifts, Gradient Map for quick color studies.
For an app-agnostic overview of digital painting fundamentals (including layers and blending), Adobe’s intro is a helpful baseline: Adobe: Digital painting basics.
A confidence-building workflow: from blank canvas to finished study
This is the repeatable sequence our team recommends when you want fewer false starts. Keep it simple, keep it timed, and finish the study—even if it’s imperfect.
- Intent: pick one focus (values, edges, lighting, material, color temperature). One goal beats ten vague goals.
- Thumbnails: 3–6 tiny sketches for big shapes and light direction. Choose the clearest read.
- Block-in: paint large shapes with your main paint brush. No details yet.
- Value pass: push lights and darks gradually. Start with a smaller range and expand on purpose.
- Edges: alternate hard and soft edges to guide attention; save hardest edges for the focal area.
- Color (optional): glaze color with low opacity layers or a limited palette. Values lead; color supports.
- Checks: flip canvas, zoom out, and do a quick grayscale check for readability.
To support better consistency and comfort during longer practice weeks, Wacom’s tips are a solid read: Wacom: Drawing and painting tips.
Beginner tips that remove common roadblocks fast
Turn practice into progress: a simple 2-week starter plan
Tools from our store that support this easy-start approach
- Digital Painting Made Friendly for Beginners – Easy Start Guide with digital painting beginner tips, Simple Tools, Brushes, Layers & Confidence-Building Workflow
- Vintage Resin Vase
- Muscle Relaxation Toolkit for Total Tension Relief – 3-in-1 Bundle for Deep Muscle Relaxation
FAQ
Do beginners need expensive brushes or a big brush pack to start digital painting?
No—starting with 3–5 core brushes is plenty. Your fastest gains come from mastering pressure control, opacity, and edge handling, not from collecting more brush options.
How many layers should a beginner use in digital painting?
Keep a minimal stack: sketch, flats, shadow, light, and details. Use clipping masks to keep shadows and light clean, and merge layers once a stage feels stable so your file stays understandable.
What’s the fastest way to see improvement in digital painting?
Do short, repeatable studies with one focus (values, form, materials) and use references consistently. A simple weekly plan plus a consistent workflow will outperform occasional long sessions.












Leave a comment