Skincare Tools Bundle Guide: Gua Sha, Glow & Anti-Aging
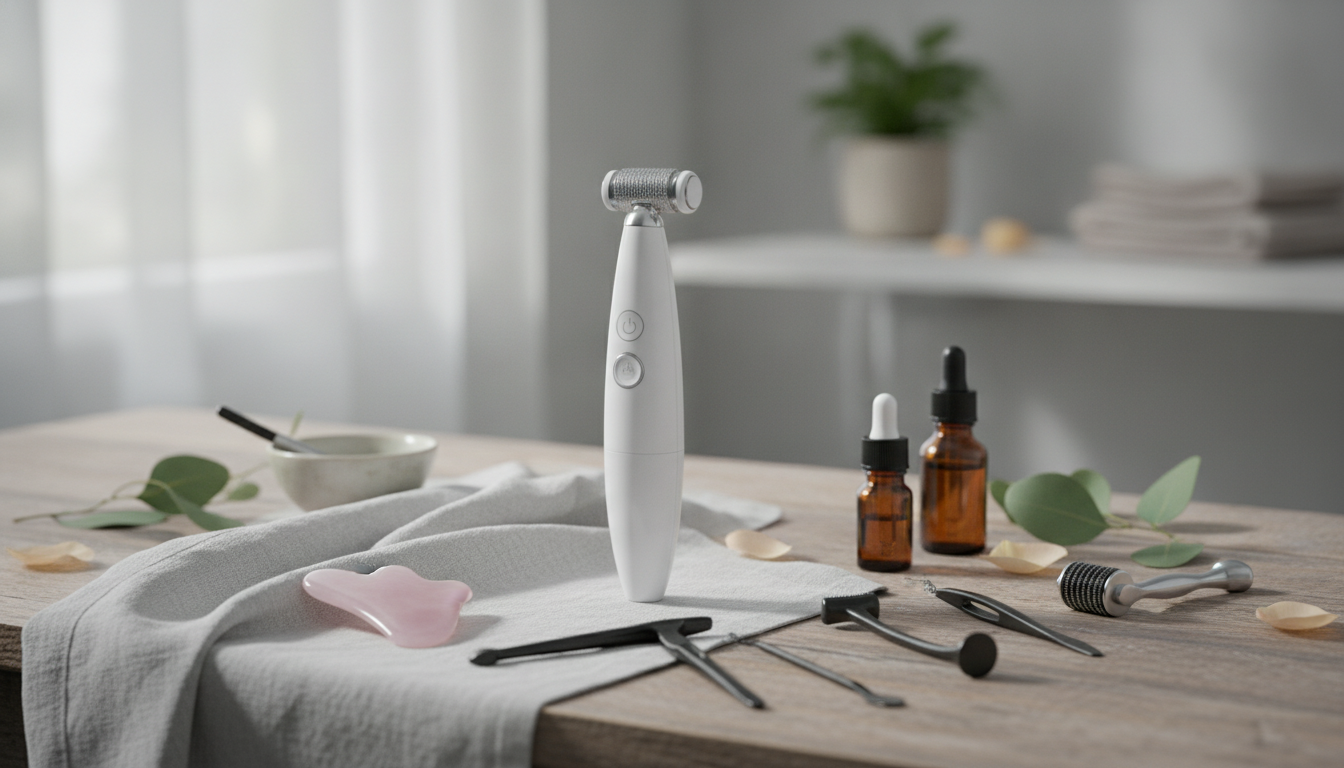
Skincare Tools Mastery Bundle: Essential Glow Gear for Anti-Aging Routines
Skincare tools can amplify results when they’re chosen well, used correctly, and kept clean. The best “glow gear” doesn’t demand a complicated setup—just smart pairings, light pressure, and a schedule that protects your skin barrier. Below is a practical guide to the core tool categories that support smoother-looking texture, brighter tone, and a firmer-looking appearance, plus an easy checklist approach to keep your routine consistent.
What “tool mastery” means for everyday skincare
Tool mastery is less about collecting gadgets and more about building repeatable technique. Most tool disappointments come from using the wrong pressure, using a tool at the wrong step, or using it too often.
- Technique beats intensity: Light pressure and good slip usually outperform “digging in.” Overuse can lead to lingering redness, irritation, or sensitivity.
- Consistency-friendly tools win: Choose tools that are easy to sanitize, quick to use, and comfortable on sensitive-skin days.
- Match tools to a goal: De-puffing, body contour massage, gentle exfoliation support, and product-spread support are practical categories that keep you from chasing trends.
- Tools are add-ons—not the base: Daily sunscreen, gentle cleansing, and evidence-based actives still do the heavy lifting. For skin basics, the American Academy of Dermatology Association has a helpful guide: Skin care basics.
The five tool categories worth building around
A well-rounded kit doesn’t need to be big. These five categories cover most routines without encouraging overuse.
- Massage & lymphatic-style tools (including gua sha styles): Support temporary de-puffing and a more sculpted look when used with light pressure and plenty of slip.
- Cleansing support tools: Can help lift residue, but they must be gentle to avoid disrupting the skin barrier—especially if you’re using retinoids or exfoliants.
- Exfoliation helpers: Best reserved for body or thicker areas (like elbows). Avoid stacking with strong acids or retinoids on the same day.
- Cooling tools: Great for morning puffiness or post-heat redness. Use only on clean skin and don’t share.
- Targeted “detail work” tools: Helpful for jawline, neck, shoulders, and body areas where hands fatigue quickly, keeping pressure more consistent.
For general safety considerations and common use-cases, Cleveland Clinic offers a clear overview of gua sha benefits and precautions: Gua Sha (benefits and safety considerations).
Gua sha tools for body: how to use them without irritation
Body gua sha can feel amazing, but it should never feel like “scraping.” The goal is glide and circulation support—not pain.
- Use a generous slip layer: Body oil or fragrance-free lotion prevents dragging and micro-irritation.
- Keep pressure light-to-medium: A little warmth or mild tingling can be normal; sharp pain or bruising is a stop sign.
- Choose consistency over intensity: Short sessions (5–10 minutes) done regularly (2–4x/week) tend to look better than occasional aggressive sessions.
- Avoid compromised skin: Skip rashes, sunburn, open lesions, and active flare-ups.
- Clean after each use: Wash, rinse well, and store fully dry to avoid bacteria and mineral buildup.
Body Gua Sha Quick Routine (Easy Checklist Format)
| Area | Slip Needed | Strokes/Side | Pressure | When to Do It |
|---|---|---|---|---|
| Neck & shoulders | Yes | 5–10 | Light | After shower or before bed |
| Arms | Yes | 8–12 | Light–medium | 2–3x per week |
| Abdomen | Yes | 6–10 | Light | Skip if tender/bloated |
| Thighs | Yes | 10–15 | Medium | Post-shower, warm skin |
| Calves/ankles | Yes | 8–12 | Light | After long standing days |
Anti-aging support: pairing tools with proven steps
Tools work best when they fit into a routine that already prioritizes barrier support and sun protection. The easiest way to avoid irritation is to separate “active nights” from “tool nights.”
- Morning: Cleanse → antioxidant serum (optional) → moisturizer → broad-spectrum sunscreen. If you use cooling tools, do it after moisturizer so there’s less friction.
- Night: Cleanse → targeted active (retinoid or exfoliant on alternating nights) → moisturizer. Use massage tools on non-irritation nights when skin feels calm.
- If stinging shows up: Reduce tool frequency first before removing all skincare steps. Over-massaging can mimic “product irritation.”
- Avoid piling on intensity: Skip aggressive tool use alongside strong at-home peels, high-percentage acids, or fresh microneedling.
Compressed glow gear: a minimal kit that still feels complete
A “complete” kit can be surprisingly small when every item has a clear job.
Common mistakes that quietly reduce results
A structured learning path with the Skincare Tools Mastery Bundle
- Skincare Tools Mastery Bundle | 5-in-1 Skincare Tools Guides Glam Tools Mastery, Beauty Tools Worth Buying, Gua Sha Tools for Body: Easy Checklist_compressed, Glow Gear, Essential Tools for Anti-Aging Skin
- Muscle Relaxation Toolkit for Total Tension Relief – 3-in-1 Bundle for Deep Muscle Relaxation
FAQ
How often should facial or body massage tools be used?
For most people, body tools do well at about 2–4x per week, while facial massage is often best a few times weekly with very light pressure. If you notice redness, dryness, or stinging, scale back frequency first and keep sessions shorter.
Can tools replace anti-aging skincare products?
No—tools mainly support appearance (like temporary de-puffing, massage benefits, and smoother product application). Sunscreen, moisturizers, and proven actives like retinoids are still the foundation, with tools layered in to enhance comfort and consistency.
What’s the safest way to clean skincare tools?
Wash tools after each use with gentle soap and warm water, rinse thoroughly, and let them air-dry completely before storing. Don’t share tools, and always follow the manufacturer’s material-specific cleaning guidance for deeper sanitizing.















Leave a comment