Round Ceramic Vanity-Top Sink: Fit, Install & Care
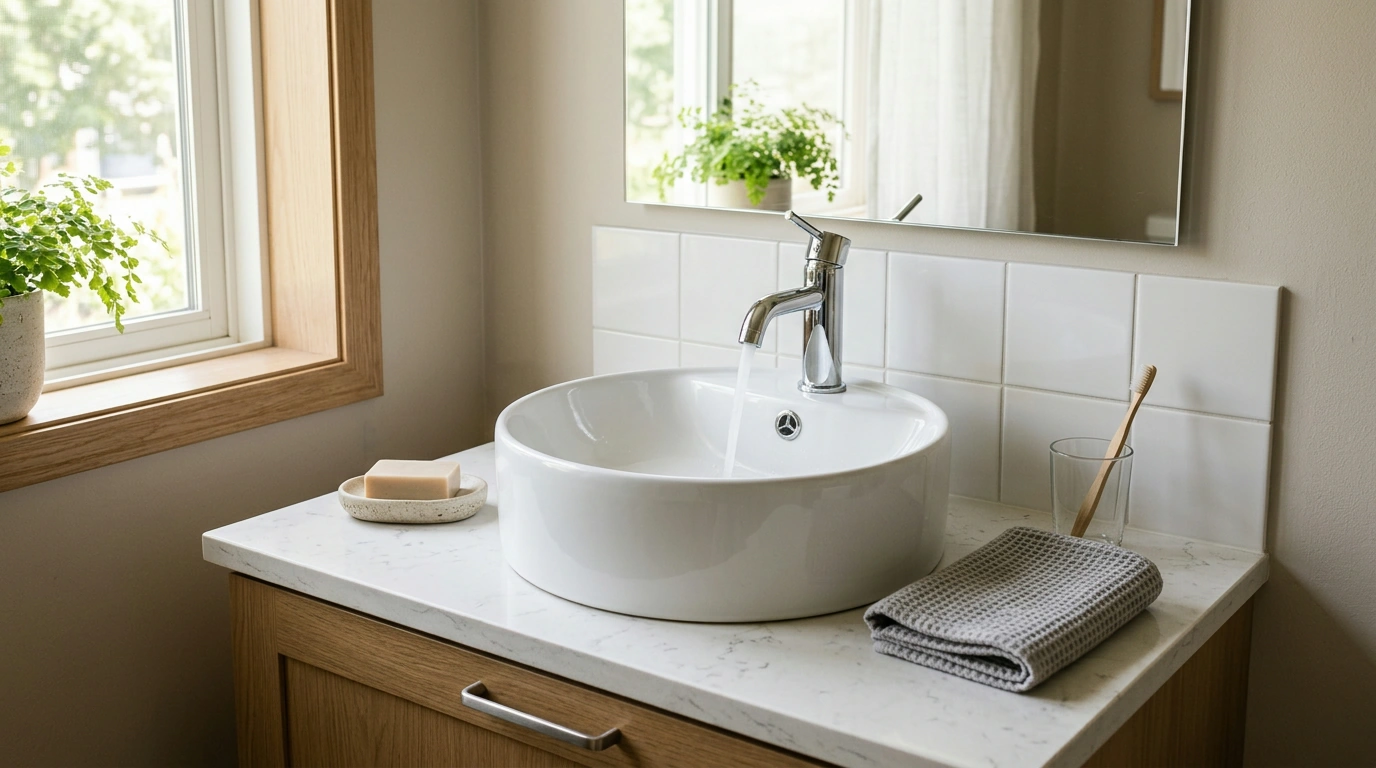
Elegant Round Ceramic Bathroom Sink for Vanity Top
A round ceramic sink can instantly soften the look of a bathroom vanity while keeping the countertop feeling open and easy to wipe down. The curved profile feels intentional (not bulky), and the glossy surface brings a clean, bright finish that works across design styles. Below is a practical guide to what to expect from a vanity-top ceramic basin, how to confirm fit and compatibility before you order, and how to keep the finish looking fresh through everyday use.
What makes this round ceramic sink a standout
- Balanced focal point: A round silhouette creates an easy visual center on a vanity top and pairs naturally with both modern and classic fixtures.
- Non-porous glazed surface: When properly glazed, ceramic helps resist staining from everyday products like soap, toothpaste, and cosmetics.
- Vanity-top presence: A countertop (vanity-top) sink stays more accessible and turns the basin into a design feature instead of hiding it inside the cabinet.
- Polished, flexible look: Glossy white ceramic complements common finishes such as chrome, brushed nickel, matte black, and brass.
Materials and finish: what “ceramic” means in daily use
In bathrooms, “ceramic” typically means a hard, fired basin topped with a smooth glaze. That glaze is what gives the sink its shine and helps it handle frequent water exposure without needing special treatments.
- Routine-friendly: Glazed ceramic is designed for daily rinsing and regular cleaning with standard, non-abrasive bathroom products.
- Comfort around common messes: The finish typically tolerates mild acids and soaps better than many natural stones, so splashes from toothpaste, hand soap, or makeup remover are less stressful.
- Scuffs vs. scratches: Small dark marks from metal items are often surface scuffs; they can usually be minimized with non-abrasive cleaners. Skip aggressive scouring pads that can haze the glaze over time.
- Hardware matters: Pairing the sink with a quality drain and well-matched faucet helps reduce splash patterns and keeps the basin looking uniform long-term.
Fit on a vanity top: measurements to confirm before ordering
Most installation headaches come down to mismatched dimensions—between the bowl, faucet, drain parts, and what’s happening inside the cabinet. Confirm these details before committing to a cutout.
- Countertop space: Ensure there’s comfortable clearance around the bowl for soap, toothbrush holders, and normal faucet operation.
- Faucet setup: Decide wall-mount or countertop-mount first. Then confirm spout reach so the stream lands close to the center of the drain (not on the rim).
- Drain compatibility: Verify drain opening size and whether the sink includes an overflow; match the drain assembly to that configuration.
- Cabinet clearance: Check space for the trap and supply lines, especially if drawers or shelves run close to the back wall of the vanity.
- Backsplash and mirrors: Make sure bowl height and faucet height won’t collide with a mirror edge or a raised backsplash lip.
For broader planning and spacing considerations, it can be helpful to review general bathroom layout guidance from the National Kitchen & Bath Association (NKBA). If accessibility is a goal, consult the 2010 ADA Standards for Accessible Design for lavatory-related clearances.
Installation overview: planning for a smooth setup
- Dry-fit first: Set the basin on the vanity top to confirm placement, faucet reach, and comfortable handwashing space.
- Seal carefully: Use a bathroom-rated sealant at the base contact area to help prevent water from creeping under the sink.
- Use the right drain parts: Choose a drain assembly that matches the sink’s opening and overflow setup to reduce the risk of leaks and slow drains.
- Check stability: Ceramic has meaningful weight; ensure the vanity top and cabinet are level and sturdy before final tightening.
- Leak test: Run water for several minutes and inspect the drain connection and trap for slow drips, not just obvious leaks.
Care routine for a bright, clean ceramic surface
Ceramic is durable, but the shine lasts longest when you treat the glaze like a polished surface—clean it often, and don’t grind grit into it.
For general safe-product handling principles while cleaning, the CDC’s guidance on cleaning and disinfecting offers helpful basics on using products as directed and maintaining good ventilation.
Styling ideas: faucets, hardware, and countertop pairings
Quick reference: key details to verify
| Detail to confirm | Why it matters | What to match |
|---|---|---|
| Bowl diameter and height | Ensures comfortable use and proper spacing on the counter | Countertop depth, mirror height, faucet height |
| Drain opening type/size | Prevents incompatibility and leaks | Drain assembly specifications (with/without overflow) |
| Faucet mounting location | Determines spout reach and hole requirements | Wall-mount vs deck-mount faucet, hole spacing if applicable |
| Countertop cutout requirement | Ensures the sink sits securely and seals correctly | Vanity top cutout template or measurement guidance |
| Cabinet interior clearance | Avoids conflicts with drawers/shelves | Trap depth, supply lines, pop-up drain linkage |
Who this sink suits best
Shop the look (in stock)
- Elegant Round Ceramic Bathroom Sink for Vanity Top
- Vintage Resin Vase
- Muscle Relaxation Toolkit for Total Tension Relief – 3-in-1 Bundle for Deep Muscle Relaxation
FAQ
Does a round ceramic vanity-top sink work with any faucet?
It works with many faucets, but the spout reach and mounting location need to match the bowl so water lands near the drain and the handle clears the rim. Confirm whether you’re using a wall-mount or deck-mount faucet before finalizing placement.
How is a ceramic sink best cleaned without scratching?
Use a soft cloth or sponge with mild dish soap or a non-abrasive bathroom cleaner, then rinse and wipe dry. Avoid abrasive powders, steel wool, and aggressive scouring pads that can dull the glaze.
Do vanity-top sinks need special sealing?
A bathroom-rated sealant at the base helps prevent water from seeping underneath and causing hidden moisture issues. Follow the sink and countertop guidance so the sealant bonds properly and stays neat along the edge.
















Leave a comment