2.25″ Button Maker Kit: 500-Piece Badge Press Guide
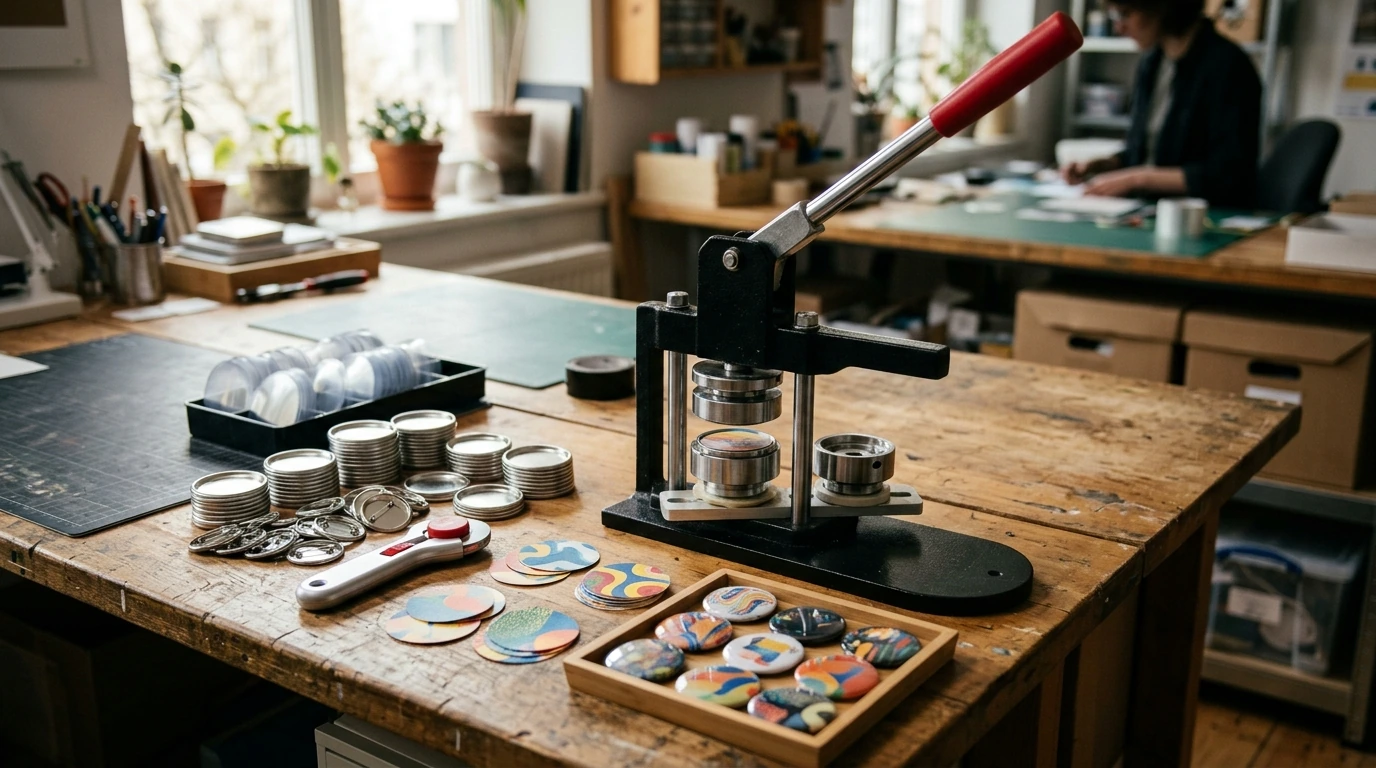
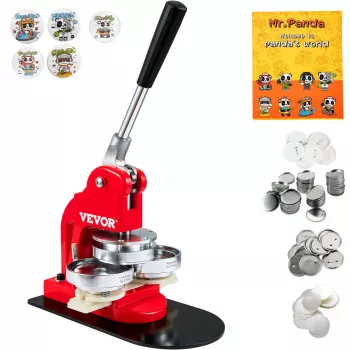
Button Maker Machine 2.25″ Badge Press Kit with 500pcs Supplies for DIY Pins
A 2.25-inch badge press kit makes it possible to turn artwork, photos, and logos into durable pin-back buttons for events, clubs, classrooms, and small-shop projects. The format is simple—stack layers, press in two stages, and you get a wearable button that looks polished and holds up to daily use. Below is a practical guide to what this kit is designed to do, what to look for in materials, how the process works, and how to get clean, consistent results when making batches.
What a 2.25-inch badge press kit is used for
A 2.25-inch press is built to create pin-back buttons, badges, and small keepsakes from printed circle designs. This size is especially popular because it reads clearly at arm’s length—large enough for bold text, recognizable logos, and simple illustrations—while staying lightweight on shirts, lanyards, tote bags, or hats.
- Common uses include fundraisers, team spirit pins, conventions, awareness campaigns, party favors, classroom rewards, and branded merch.
- The best-looking buttons come from matching the correct button parts (shell, mylar film, and pin-back) to the die size and using a steady pressing motion.
- A 2.25-inch button is also forgiving for beginners: there’s more room for centering than smaller sizes, which helps when dialing in templates.
What’s included in the kit and what each piece does
A typical 2.25-inch badge press kit includes the press machine plus a bulk set of compatible components. The machine supplies the leverage that crimps the layers into a finished button, while the parts determine how secure the crimp is and how the face looks under light.
- Badge press machine (2.25-inch): The tool that forms the face and then locks it onto the back.
- Button parts and supplies (500pcs): Usually metal shells (fronts), pin-backs (backs), and clear mylar film (the exact breakdown can vary by listing).
- Why supplies matter: Shell and back tolerances need to match; mylar clarity affects gloss, and thickness affects wrinkle resistance.
- Helpful add-ons: A circle cutter/punch, a cutting mat, and a printer that handles slightly heavier paper without smearing.
Quick kit checklist and what to verify before the first press
| Item | Why it matters | What to check |
|---|---|---|
| 2.25-inch press machine | Creates consistent crimps and secure backs | Smooth operation, stable base, dies aligned |
| Metal shells (fronts) | Holds the artwork and forms the button face | No dents, correct diameter for 2.25-inch die |
| Pin-backs (backs) | Provides the wearable fastener | Pins open/close smoothly; edges not bent |
| Mylar film | Protects artwork and adds gloss | Clear, not cloudy; matches shell size |
| Printed inserts (your design) | The visual layer | True 2.25-inch circle size; centered artwork |
How the button-making process works (simple workflow)
Most 2.25-inch presses follow a two-step workflow: first you form the “face” (shell + art + mylar), then you crimp that face to the pin-back. The process is fast once your template and cutting method are consistent.
- Design: Build a 2.25-inch circle template and add bleed so important text and logos don’t sit on the edge.
- Print: Use a quality print setting. Let ink dry completely so it won’t smudge under the mylar.
- Cut: A circle cutter or punch speeds up production and improves repeatability. Scissors can work for small batches, but uneven edges are more likely.
- Assemble layers: Place the shell first, then your paper circle, then mylar on top (mylar typically faces outward for gloss and protection).
- Press in stages: Complete the face-forming step, rotate or shift to the second die, then crimp onto the pin-back until it locks.
Getting clean, professional-looking results
Safety, setup, and workspace planning
- Use a stable surface: Set the press on a solid table so it won’t shift when you pull the handle.
- Hand safety: Keep fingers clear of die areas when aligning components and before pressing.
- Small parts caution: Pin-backs and button components can be a small-parts hazard; store supplies in labeled containers and follow guidance from the U.S. Consumer Product Safety Commission.
- Ergonomics: For larger batches, take breaks and keep your posture neutral to reduce wrist and shoulder strain; general tool safety guidance is available from OSHA.
Maintenance and troubleshooting
Project ideas that work especially well at 2.25 inches
Product picks (in stock)
- Button Maker Machine 2.25″ Badge Press Kit with 500pcs Supplies for DIY Pins — A popular “statement” size with a large supply bundle so you can begin making buttons without hunting for parts separately.
- Vintage Resin Vase — A simple way to dress up a craft table or market booth display where you sell or hand out finished buttons.
FAQ
What size design should be printed for a 2.25-inch button?
Use a 2.25-inch circle template with bleed so important text and logos stay safely away from the crimped edge. Run a single trial press first to confirm your printer scaling and centering before printing a full batch.
Why do my buttons come out wrinkled or not fully crimped?
The most common causes are paper that’s too thick, circles that aren’t cut cleanly, mylar that isn’t seated flat, incorrect layer order, or not completing the full handle pull/die rotation for each step. Switching to a smoother cut method and using steady pressure typically fixes wrinkles and incomplete crimps.
Are button parts interchangeable between different machines?
Button parts are often size- and die-profile specific, so mixing brands or slightly different component shapes can lead to poor crimping or buttons that won’t lock. For the most reliable results, stick with compatible 2.25-inch parts made for the same die style as your press.














Leave a comment