Beginner Eyebrow Shaping Checklist: Map, Tweeze, Trim
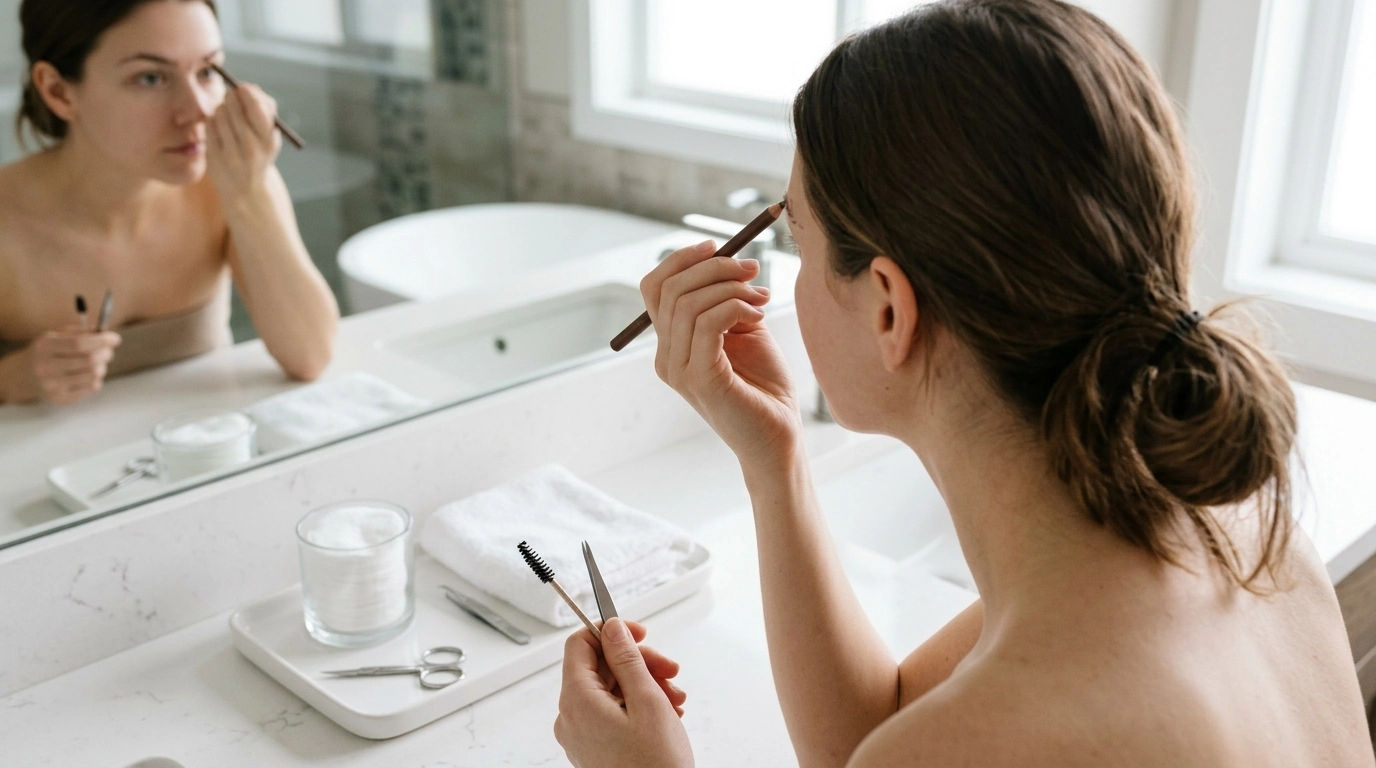
Brow Confidence Starts Here: An Easy Eyebrow Shaping Checklist for Beginners
Balanced brows can frame the face, open up the eyes, and make everyday makeup feel easier. For beginners, the hardest part is knowing where to start, how much hair to remove, and how to keep both brows looking even. A checklist-style routine keeps decisions small and repeatable—so the final shape looks clean, natural, and consistent without the “oops” moments.
What Makes Beginner Brow Shaping Tricky (and How to Avoid Common Mistakes)
Most brow mishaps come from moving too fast or shaping without a plan. Over-removing hair often happens when you don’t set clear start/arch/end points first—then you end up “chasing symmetry” and plucking more and more to make both sides match. Aim for overall balance instead: brows are sisters, not twins.
Unevenness also tends to come from taking too much from the top line or the very front of the brow. Keep the top mostly intact, and make the tiniest edits near the arch and tail where a few hairs can refine the look without thinning the brow body. If possible, work in natural daylight and step back often; close-up mirrors can encourage over-plucking. If skin starts looking irritated, pause and soothe—redness can temporarily make the shape look worse than it is.
Beginner Brow Shaping Kit: Simple Tools and What Each One Does
| Tool | Purpose | Beginner tip |
|---|---|---|
| Spoolie brush | Brushes hairs up and out to reveal true shape | Brush through before every trim or tweeze to avoid removing the wrong hairs |
| Tweezers (slanted) | Removes individual hairs with control | Grip close to the root and pull in the direction of hair growth |
| Small brow scissors | Trims long hairs that stick up | Trim only the tips; avoid cutting straight across |
| Brow pencil or powder | Lightly outlines the intended shape and fills sparse areas | Sketch softly first; heavy lines make mapping harder to adjust |
| Concealer (optional) | Cleans edges for a crisp look | Use a tiny brush and blend upward, not into the brow |
| Cotton pads + gentle cleanser | Removes makeup and oils for better grip | Dry the area fully so tweezers don’t slip |
Before You Start: Prep for a Cleaner Shape
Start with a clean canvas. Cleanse the brow area to remove makeup, sunscreen, and oils so hairs are easier to see and your tweezers can grip without slipping. Brush brows upward and outward with a spoolie to reveal uneven lengths and growth patterns.
Decide the finish you want—natural and fluffy, softly defined, or more sculpted—because that determines how much cleanup you’ll do. If pain is a concern, shape after a warm shower or hold a warm (not hot) compress over the area for about a minute. Skip magnifying mirrors for the full process; use them only briefly to confirm a single hair, then return to a regular mirror to keep perspective.
Map Your Brows in 60 Seconds: Start, Arch, End
Mapping is the fastest way to stop guesswork. Using a pencil (or makeup brush handle), mark three simple reference points:
- Start point: Hold the pencil vertically from the side of the nose. Mark where it meets the brow line near the inner corner.
- Arch point: Angle the pencil from the side of the nose through the outer edge of the iris while looking straight ahead. Mark where it intersects the brow.
- End point: Angle the pencil from the side of the nose to the outer corner of the eye. Mark where the tail should end.
Connect your marks with a light outline along the underside first; beginners typically get the cleanest results by refining the bottom line. Keep the front of the brow softer—avoid creating a harsh “box” at the inner brow unless that’s the look you want.
The Step-by-Step Shaping Checklist (Tweeze, Trim, Define)
If you want a guided, repeatable routine you can pull up anytime, Brow Confidence Starts Here – Easy Eyebrow Shaping for Beginners Checklist (Digital Download) turns these steps into a simple session-by-session format, so it’s easier to stop at the right moment and keep results consistent.
Beginner-Friendly Shaping Rules for Different Brow Goals
Aftercare and Maintenance: Keep Brows Looking Fresh
After shaping, soothe the area with a cool compress or a gentle, fragrance-free moisturizer if skin looks pink or feels tender. Avoid strong actives (like retinoids or exfoliating acids) right after hair removal to reduce irritation risk. For hair-removal safety basics, the American Academy of Dermatology Association has practical guidance on tweezing and waxing; and if you’re prone to bumps, Mayo Clinic’s overview of ingrown hairs covers prevention and care.
If your shaping session doubles as self-care time, adding a relaxation step can help you go slower and stay precise. The Muscle Relaxation Toolkit for Total Tension Relief – 3-in-1 Bundle for Deep Muscle Relaxation can pair well with an at-home routine when you want a calmer, more careful pace.
A Printable Checklist for Consistent Results
FAQ
Is it better to tweeze or wax eyebrows as a beginner?
Tweezing is usually easier for beginners because it’s slower and more precise, so you can adjust gradually. Waxing removes more hair at once and can be harder to correct if too much comes off, especially if your skin is sensitive.
How do you shape eyebrows evenly when they grow differently?
Use start/arch/end mapping points, remove hair in small increments, and step back often to compare. When you need to adjust, take the smallest amount from the fuller brow and focus on overall balance rather than identical hairs.
How often should eyebrows be shaped?
Light maintenance once a week (just obvious strays) helps keep the shape tidy, while a fuller reshape every 3–4 weeks works well for most growth cycles. Avoid heavy tweezing between sessions so you don’t accidentally thin the brow over time.
















Leave a comment