Car Seat Cleaning Routine for Fabric & Leather That Lasts
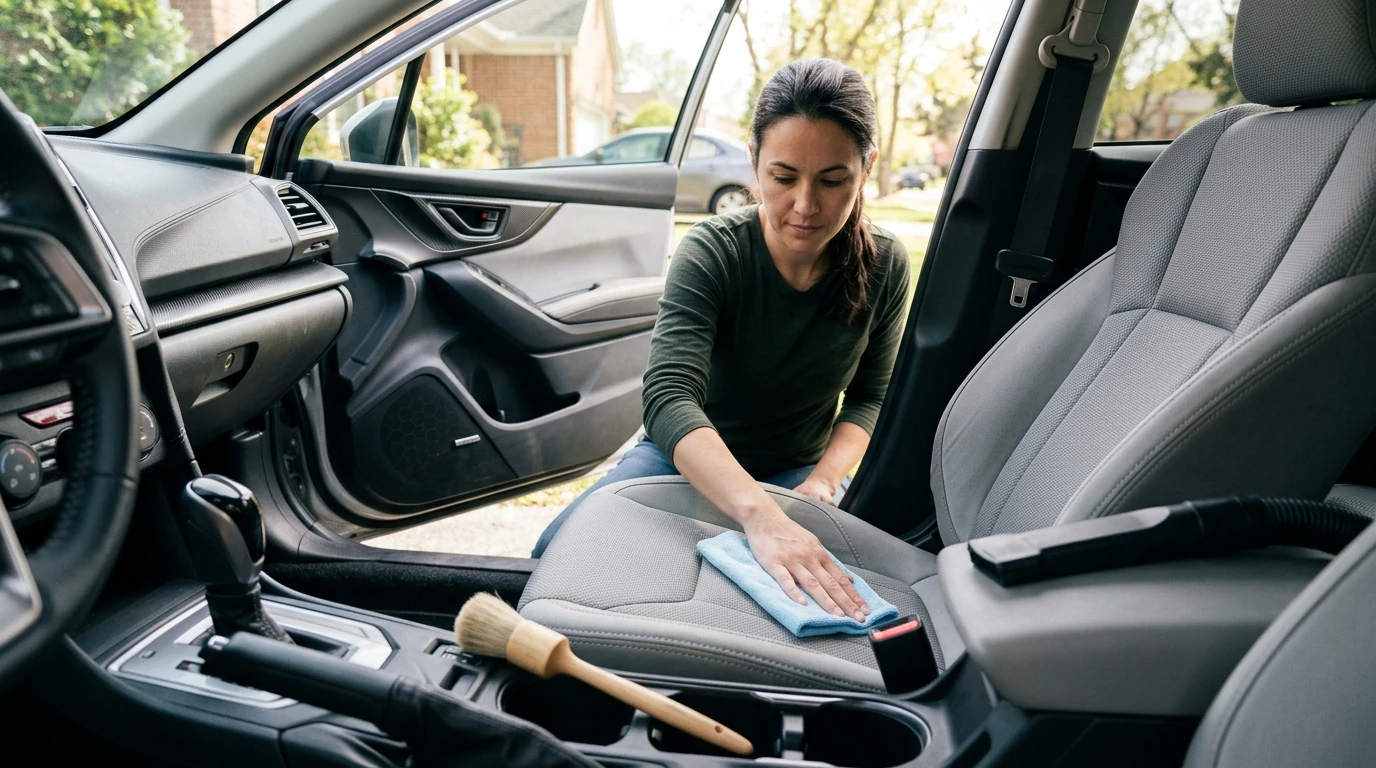
Clean Seats, Happy Rides: A Simple Routine for Fabric & Leather Seats That Actually Sticks
A clean car interior changes the whole drive—no mystery odors, no crumbs in the seams, no sticky cup-holder surprises. Our team built this routine to be repeatable for real life: kids, pets, coffee, commutes, and weekend road trips. You’ll do a fast reset first (so you’re not cleaning around clutter), then choose the right method for fabric or leather, and finish with small habits that keep stains from becoming permanent.
Start With a 5-Minute Reset (Before Any Deep Cleaning)
Before you touch a cleaner, set yourself up for success:
- Remove clutter first: bottles, wrappers, toys, and anything wedged between the seat and console.
- Vacuum top-to-bottom: headrest seams → backrest → seat base → between cushions; use a crevice tool for rails and buckle areas.
- Dry brush stubborn debris on fabric (crumbs, sand) before vacuuming again to lift what’s embedded.
- Spot-check problem zones: armrests, bolsters, seat edges, and child-seat contact points.
- Ventilate: open doors for airflow so products work better and dry faster.
Know the Seat Material Before You Apply Anything
“Seat” can mean fabric, leather, leatherette/vinyl, or perforated upholstery, and each one reacts differently to moisture and cleaners. Confirm what you’re working with, then test any product in a hidden area (under the seat edge or low side bolster) and let it dry fully before continuing.
- Use minimal moisture, especially around seams, perforations, and seat controls, to prevent trapped dampness and lingering smells.
- Avoid harsh shortcuts: bleach, heavy degreasers, and abrasive scrub pads can permanently damage upholstery finishes.
Quick Material-to-Method Map
| Seat material | Best first step | Cleaning approach | Big avoid |
|---|---|---|---|
| Fabric/cloth | Vacuum + dry brush | Light mist + blot, then gentle agitation | Soaking the foam or scrubbing aggressively |
| Leather (sealed/finished) | Vacuum seams carefully | pH-appropriate leather cleaner + microfiber wipe | All-purpose cleaners, alcohol-heavy wipes, excessive water |
| Leatherette/vinyl | Dust/vacuum | Mild cleaner + wipe, then dry | Abrasives and petroleum-based products |
| Perforated seats | Vacuum perforations | Cleaner on cloth (not sprayed directly) | Spraying into holes or flooding seams |
Fabric Seats: Stain Control Without the Ring Marks
Fabric can look clean on the surface while holding spills down in the fibers and foam. The goal is to lift the mess without overwetting (which creates odors and water rings).
- Blot, don’t rub: press with a clean microfiber towel to lift spills; rubbing pushes stains deeper and frays fibers.
- Work outside-in: treat the stain edge first to reduce spreading and prevent tide rings.
- Use light moisture: apply cleaner to a towel or soft brush rather than saturating the seat; follow with a damp (water-only) towel to remove residue.
- Agitate gently: small circular motions with a soft brush lift grime without roughing up the nap.
- Dry fully: towel-dry, then air out; a small fan helps if humidity is high.
Leather Seats: Clean, Then Condition With Restraint
Most automotive leather is finished (sealed), so you’re cleaning the protective top layer—not “feeding” the hide. That’s why less product and less scrubbing usually wins.
- Dust and grit are the enemy: vacuum seams and wipe down first so particles don’t grind into the finish.
- Apply cleaner to the towel: avoid spraying directly onto leather, especially near stitching and perforations.
- Use gentle passes: several light wipes are safer than one aggressive scrub.
- Condition only as needed: over-conditioning can feel slick and attract dirt; focus on bolsters and high-contact areas.
- Protect from heat and sun: shade and a sunshade reduce drying and cracking over time.
For general care principles, the National Leather Association offers helpful guidance on keeping leather surfaces in good shape.
Odors, Sweat, and Everyday Grime: The “Invisible Mess” Plan
If your seats look fine but the cabin smells “off,” you’re usually dealing with a buildup problem: body oils on touch points, old spills in seams, and moisture trapped under seats or mats.
For broader context on why ventilation and source control matter, the U.S. EPA’s indoor air quality resources are a solid reference.
A Repeatable Checklist for Every Clean (Save on Your Phone)
If you want the full routine laid out in one place, our team put it into a simple, printable system: Clean Seats, Happy Rides | Car Seat Cleaning Guide (digital download).
Make It Easier Next Time: Prevention That Pays Off
And if long drives leave you tight and sore after you’ve tackled the cleanup, we also keep a recovery option in stock: Muscle Relaxation Toolkit for Total Tension Relief – 3-in-1 Bundle.
For high-touch surface cleaning principles (like wiping down armrests and headrests regularly), the CDC’s cleaning guidance is a practical benchmark.
FAQ
How often should car seats be cleaned?
Aim for a quick weekly reset (clear + vacuum + quick wipe), a deeper monthly clean, and immediate spot treatment for spills. If you drive daily with kids, pets, or gym gear, you may want to bump the deeper clean to every 2–3 weeks.
What causes water rings on fabric seats, and how can they be avoided?
Water rings usually come from over-wetting or uneven drying that leaves cleaner and minerals concentrated at the edges. Use minimal moisture, work from the outside in, blot instead of rub, and keep your damp “rinse” pass light and even.
Is it safe to use all-purpose cleaner on leather seats?
Most all-purpose cleaners are a poor fit for leather because the pH and solvents can dull the finish or dry it out over time. Use a leather-appropriate cleaner, test in a hidden area first, and apply it to a microfiber towel rather than spraying the seat.
















Leave a comment