Fast Blowout Guide: 7-in-1 Ionic Dryer Brush
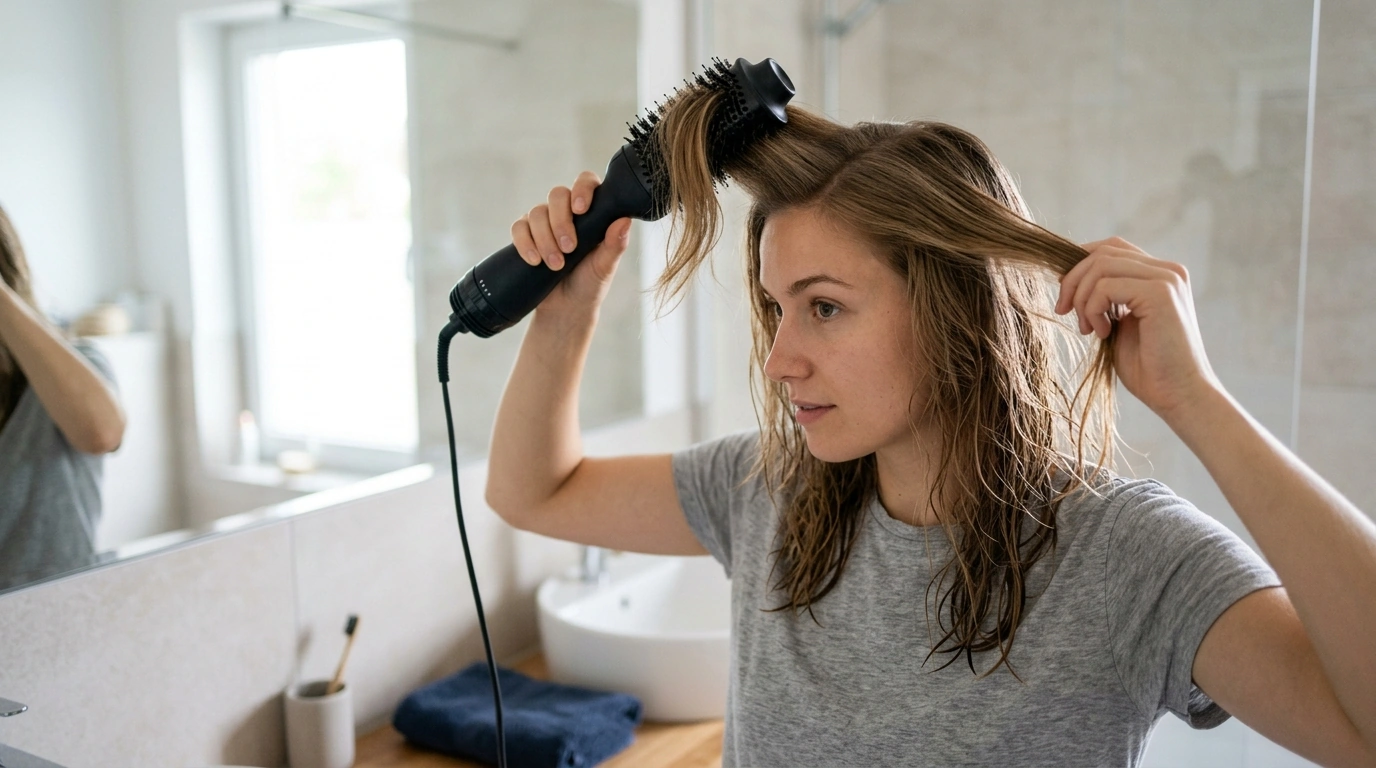
Smooth, Shape, and Finish with One Tool
Busy mornings and salon-level results can coexist. Our 7-in-1 High-Speed Hair Dryer Brush with Ionic Technology is built for fast drying, controlled styling, and a polished finish—especially when frizz, flyaways, or time are the main challenges. Below, our team breaks down what it’s designed to do, how to use it comfortably, and how to match your routine to your hair goals.
What this 7-in-1 brush is made to solve
If you’ve ever bounced between a dryer, a round brush, and a finishing tool just to look “put together,” this is the kind of workflow our team had in mind. The goal is fewer steps, more control, and a smoother end result.
- Cut down styling steps by combining drying and shaping into a single workflow.
- Help reduce the look of frizz and static with ionic support during blow-dry styling.
- Create everyday volume, bend, and smoothness without juggling multiple hot tools.
- Support quick touch-ups: refresh roots, smooth ends, and re-shape bangs without a full wash-day routine.
High-speed airflow + ionic technology: what it changes in the routine
High-speed airflow is designed to move more air efficiently, so damp hair gets to “style-ready” faster and with less lingering moisture (which can otherwise leave hair looking puffy). Ionic technology is commonly used in hair tools to help tame static and support a sleeker look—often most noticeable on dry lengths and on humid days.
- Keep airflow moving rather than holding one spot; it helps the finish look more even.
- Work in sections so you need fewer passes (less time, less heat exposure).
- After shaping a section, give it a brief cool-down to improve “shape memory.”
- Start from towel-dried hair (not dripping wet) and use a heat protectant.
For general heat-styling safety and damage prevention, the American Academy of Dermatology Association and the Cleveland Clinic both emphasize practical habits like limiting excess heat exposure and protecting hair before styling.
7-in-1 versatility: how to choose the right setup for the look
Different “blowout” results come down to three choices: section size, tension, and the last few inches (where bends and flips happen). Use this as a quick compass while you style.
- For volume at the crown: lift at the roots, hold briefly, then glide upward and away from the scalp.
- For smooth lengths: work in medium sections and keep gentle tension as you pass from roots to ends.
- For curved ends: rotate slightly at the last 2–3 inches and pause briefly to set the bend.
- For face-framing pieces and bangs: use smaller sections, style away from the face, then cool down to lock in shape.
- For refresh days: focus on the top layer and the perimeter; you rarely need a full-head pass.
Step-by-step routine for a sleek blowout at home
This routine is built for repeatable results without overworking the same strands. If you’re prone to frizz, prioritize smaller sections on the outer layer and a longer cool-down at the end.
- Prep: towel-dry thoroughly, detangle gently, apply heat protectant, and section hair into 4–6 parts (add more sections for thick hair).
- Roots first: start underneath or at the back; aim airflow at the roots while lifting for volume and quicker dry-down.
- Lengths next: guide the brush steadily; avoid staying in one spot so you don’t overheat and the finish stays consistent.
- Ends and shape: add bend at the ends last—this is where most blowout definition comes from.
- Finish: let hair cool for 1–2 minutes before brushing through; add a light serum to ends if needed (especially for high-porosity hair).
Quick styling map (goal → sections → finishing tip)
| Goal | How to section | Brush movement | Finish |
|---|---|---|---|
| Smooth and straight | Medium sections | Slow, steady passes with light tension | Cool-down + tiny amount of anti-frizz serum on ends |
| Bouncy volume | Smaller top sections; clip crown | Lift roots, roll slightly at mid-lengths | Cool-down at roots; shake out with fingertips |
| Curved ends | Medium sections | Straight pass then rotate at last 2–3 inches | Pin curl for 2 minutes or cool-down before releasing |
| Frizz control (humidity days) | Smaller sections for top layer | Extra attention on outer layer; keep airflow moving | Light-hold spray; avoid heavy oils near roots |
Hair-type guidance: getting the best finish without overdoing heat
Care, cleanup, and storage for long-lasting performance
When this tool is the right pick (and when to choose a different approach)
Two at-home upgrades our team loves together
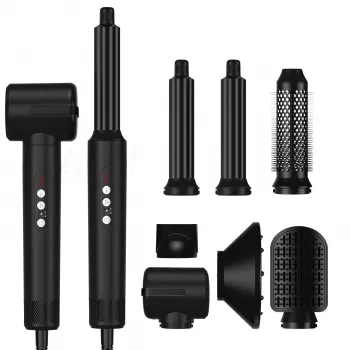
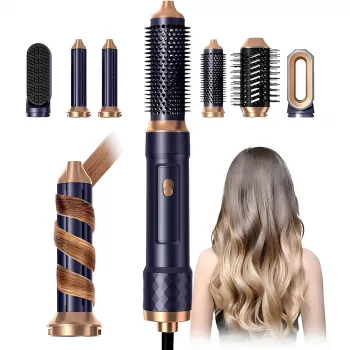
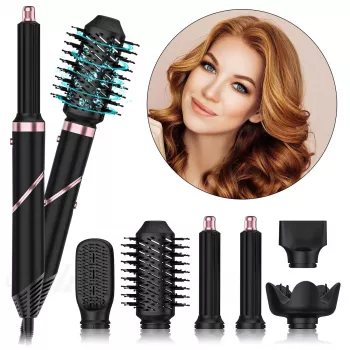
- 7-in-1 High-Speed Hair Dryer Brush with Ionic Technology: for drying, smoothing, shaping, and quick refresh days.
- Muscle Relaxation Toolkit for Total Tension Relief – 3-in-1 Bundle for Deep Muscle Relaxation: a smart add-on if your neck, shoulders, or forearms get tense after styling or long workdays.
FAQ
Can an ionic hair dryer brush help with frizz and flyaways?
Yes—ionic technology is commonly used to help reduce static and support a smoother finish. Your results will depend on technique (steady movement and tension), working in clean sections, and finishing with a cool-down plus a light anti-frizz product.
Should hair be wet or damp before using a high-speed dryer brush?
Start with towel-dried, damp hair for the best control and faster results. Avoid dripping-wet hair so you don’t need extra time and repeated passes, and always use a heat protectant.
How do you make a blowout last longer after using a dryer brush?
Let your hair cool fully before brushing through, and use a cool-down (or cool-shot if available) after shaping key sections. Add light hold at the roots, avoid heavy oils near the scalp, and sleep with a loose wrap or a gentle crown clip to help preserve lift.












Leave a comment